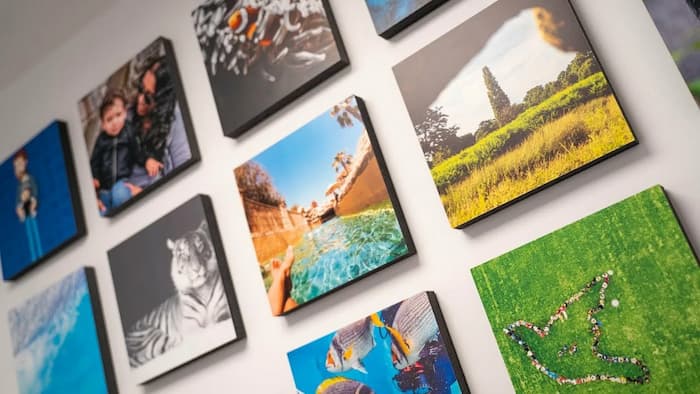
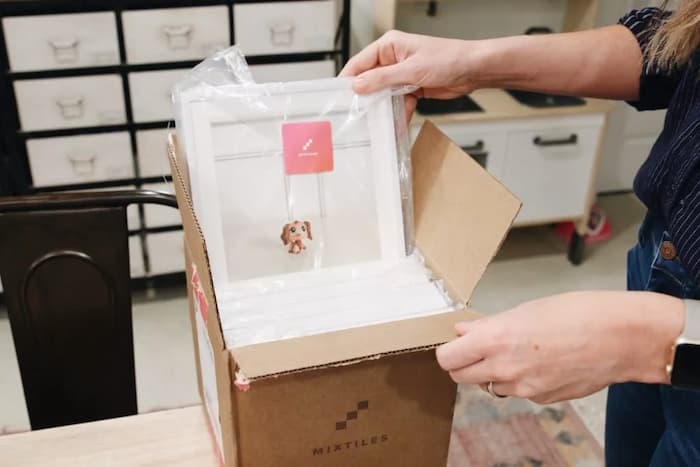
Picture frames are delicate and usually get damaged if handled without care. Mixtiles, on the other hand, have revolutionized the photography industry with their easy-to-handle and versatile characteristics.
Moving From Orangeville To Toronto can be an exciting time, but decorating your new home is just as important. Mixtiles are fixtures used to decorate the walls without damaging the paint. Today, these particular accessories are stylish alternatives to mounting your family or pet pictures on the walls. Your family pictures and paintings often appear like real-life versions of the social media photo feeds when mounted on the wall.
Nonetheless, homeowners are usually concerned about packing mixtiles for moving.Fortunately, in this article, we'll look at the most effective ways to move mixtiles from old walls to a new home from a professional company that specialises in long-distance moves.

Alternative Wrapping Materials:
Usually, there are seven steps involved when packing mixtiles for moving.
Hold the mixtile at the bottom and the top, then peel it off smoothly. Do this gently to avoid damaging the adhesive glue. Also, avoid peeling off the gum from the mixtile frame because it might damage the wall.
Mixtiles usually come off tidily if you do this process correctly. Do not touch the sticky backside of the mixtile with your hands or any other object. Touching the adhesive reduces the glue bonding when re-sticking the mixtiles.
High Stream Moving is proud to offer professional local and long distance moving services in Toronto and all across Canada and the USA.
It is necessary to maintain the mixtile adhesion because you have to re-stick your pictures and paintings.
Remember: The longer you leave the back of the tape open, the more you compromise the adhesiveness of the mixtile.

You can pack the mixtiles in two easy-to-follow techniques.
Though, stack the mixtiles of the same dimension when using the first method.
When loading the mixtiles, place the boxes in a cabinet and lock them. Alternatively, place the mixtile boxes between furniture or confined spaces to avoid unnecessary movement.
Also, do not place the box on the vehicle's floor to avoid water damage when moving Mixtiles.
| Dos | Don’ts |
| Only use bee wax wraps, parchment paper, or kitchen wax paper to maintain the mixtile adhesive glue. | Do not use aluminum foil whatsoever when packing the mixtiles. |
| Use an X mark to distinguish the top and the bottom side. | Do not attach the sticky side of mixtiles. |
| Label the box as (fragile) for extra care when handling. | Make sure no water gets in contact with the mixtiles when moving. |
| Contact professional movers. | Do not put any item on top of the mixtile box when moving. |
High Stream Moving is proud to offer professional local and long distance moving services in Toronto and all across Canada and the USA.
Mixtiles are more delicate than you might be thinking. Any tiny scratch, bump, or tear on the frame can cause significant damage.
So, always ensure to use the correct materials and tools to avoid damaging the mixtile. Furthermore, safeguard the adhesive behind for re-sticking the mixtiles on a new wall. Add a little bee wax or mixtile glue if a mixtile does not re-stick.
Contact a professional moving company if you have trouble removing the mixtiles from the wall. High Stream Moving professionals have the expertise and the necessary tools to remove, handle, pack, and re-stick Mixtiles. They’re just a phone call away – reach us at (800) 430-1537.